Console
Console enables you to interact with the REST API of Elasticsearch. Console has two main areas:
- Editor, where you compose requests to send to Elasticsearch.
- Response pane, which displays the responses to the request. See Response View.

Open Console
The console can be Temporary or Persistent.
To open a Temporary console, double-click a table in the tool window.
The Persistent console can be console associated with Scratch or Project file or console stored in the plugin state and shown in Consoles in the tool window.
Select the connection and click the Jump to Query Console button or press ⇧ ⌘ F10. In the popup select what console to open.
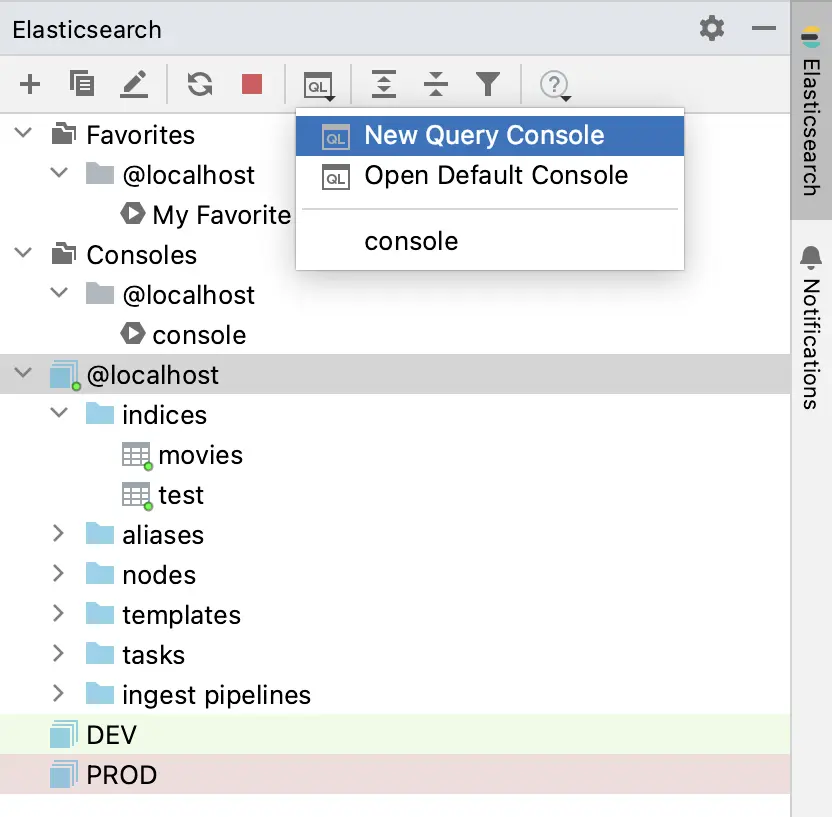
The list of all saved consoles can be viewed in the tool window. You can open a console from the list.
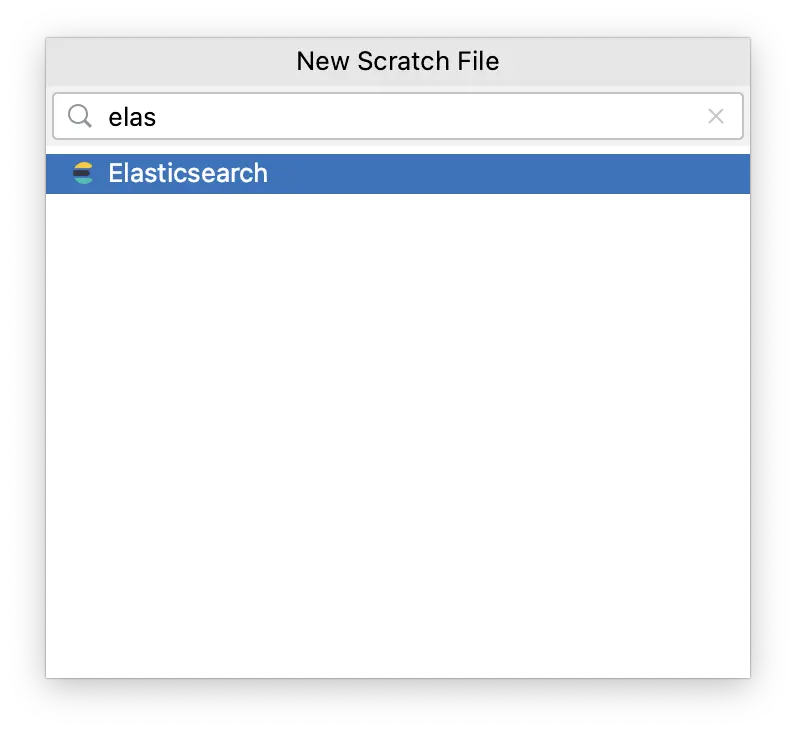
From the main menu, select File | New | Scratch File or press ⇧ ⌘ N. Select Elasticsearch file type.
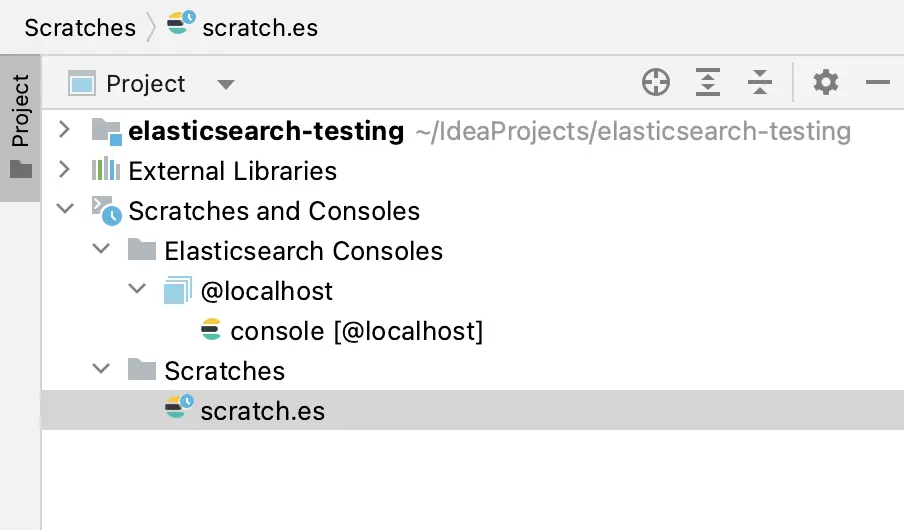
Scratch files are automatically numbered and saved to the Project -> Scratches and Consoles.
Scratch file console has no associated connection. It must be selected on the console toolbar.
Create a new file with the
.esextension. The file will be automatically associated with the Elasticsearch console.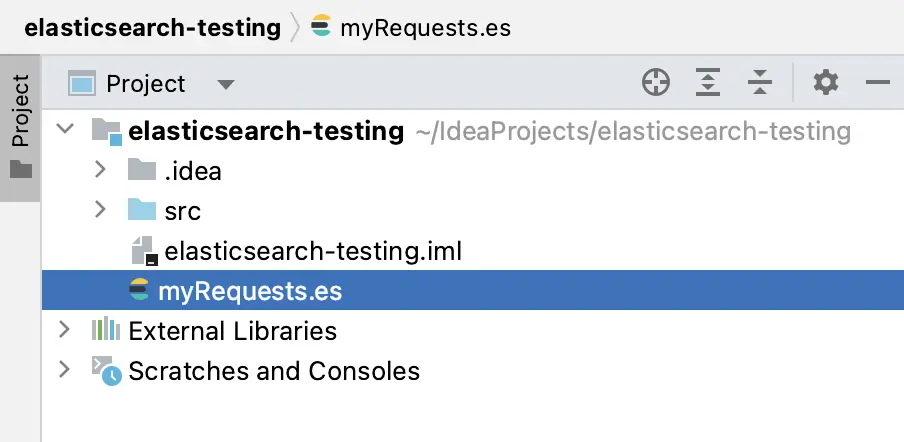
The file console has no associated connection. It must be selected on the console toolbar.
You can keep the file in the project to share it with your team.
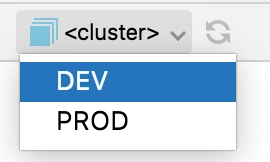
Connection
You can see connection associated to this console and its status on the toolbar.
![]()
For scratch and .es files you must select the connection from the popup list.
Press Refresh button to reconnect to Elasticsearch.
Execute requests
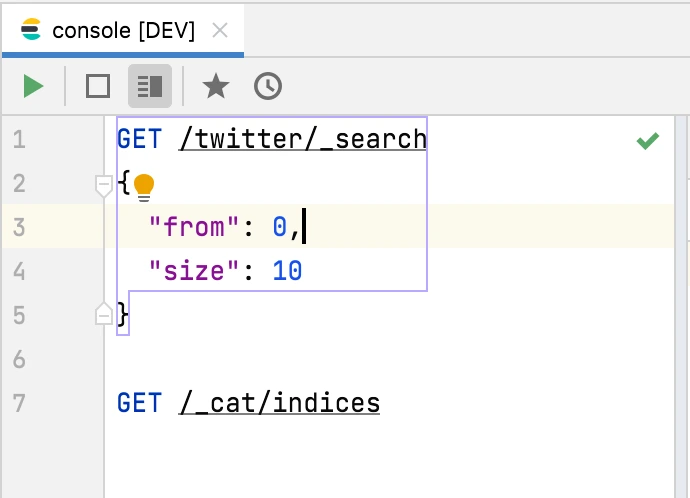
Console editor can have many requests.
To select the request that you want to execute put the cursor at the request path or body.
The color frame shows the selected request.
If there is only one request you don’t need to select it.
To execute request click  or press ⌃ ⏎.
Controls on the toolbar
| Icon | Shortcut | Description |
|---|---|---|
| ⌃ ⏎ | Execute the selected request. |
  | ⌘ P | Switch between showing Only Editor / Only Response View. |
  | ⌥ ⌘ P | Switch between vertical / horizontal orientation of editor and response view. |
 | F3 | Open Add to Favorites dialog. See Favorite requests. |
 | ⌥ ⌘ E | Open Requests History dialog. See Requests history. |
| Connection associated with this console. | ||
 | Reload connection. |